

Enable and configure the CultureMonkey Speak Up portal
How to turn on the Speak Up whistleblowing module, set up the reporter intake form and portal branding, and publish the QR code and reporter link so employees can raise concerns safely.
On this page
- Before you begin: the two layers of "enabled"
- Open the Speak Up settings area
- Enable the portal
- Configure the intake form and branding
- Set up categories and their intake questions
- Add your compliance team as members
- Set notifications and SLA targets
- Publish the reporter link and QR code
- Turning the portal off again
- Frequently asked questions
- Where to go next
Speak Up is CultureMonkey's confidential reporting channel. It gives your people a secure, optionally anonymous way to raise concerns - harassment, safety issues, fraud, discrimination, and more - and gives your compliance team a structured place to receive, triage, and resolve those reports. Before employees can submit anything, someone with the right access has to turn the portal on and set up the intake experience.
This guide walks you through exactly that: confirming the module is available on your account, enabling the reporter portal, configuring the intake form and branding, and publishing the reporter link and QR code so people can find it.
Speak Up has two switches. First, the module has to be enabled on your account (this is provisioned by CultureMonkey). Once it is, a Speak Up Admin enables the portal in-app, configures the intake form, categories, and members, then shares the reporter link or QR poster. Until the portal is enabled, the public reporter URL returns a 404 and no reports can come in.
Before you begin: the two layers of "enabled"
It's worth understanding the difference between the two switches up front, because they answer two different questions and are controlled by two different people.
- The module controls whether Speak Up exists for your account at all. It decides whether the Speak Up item appears in your left navigation and whether any Speak Up workflows are reachable. This is an account-level setting.
- The portal (the in-app Enable Speak Up portal toggle) controls whether the public reporter experience is live. With the module on but the portal off, your compliance team can still open Speak Up and set everything up, but employees visiting the reporter URL get a 404 until you flip the portal on.
If you don't see Speak Up in your navigation at all, the module hasn't been switched on for your account yet. That's a provisioning step handled by CultureMonkey, so reach out to your Customer Success contact or get help to have it enabled. Everything else in this guide assumes the module is already on and you can see the Speak Up area.
Enabling the portal and editing its settings requires the Speak Up Admin role, usually held by the Chief Compliance Officer or Head of Ethics. Members and Viewers can work cases but cannot change these settings. See Speak Up roles and access for the full breakdown.
Open the Speak Up settings area
Once the module is on, Speak Up appears in your left navigation alongside Listen, Analyse, and Act. Open it and go to the Settings area.
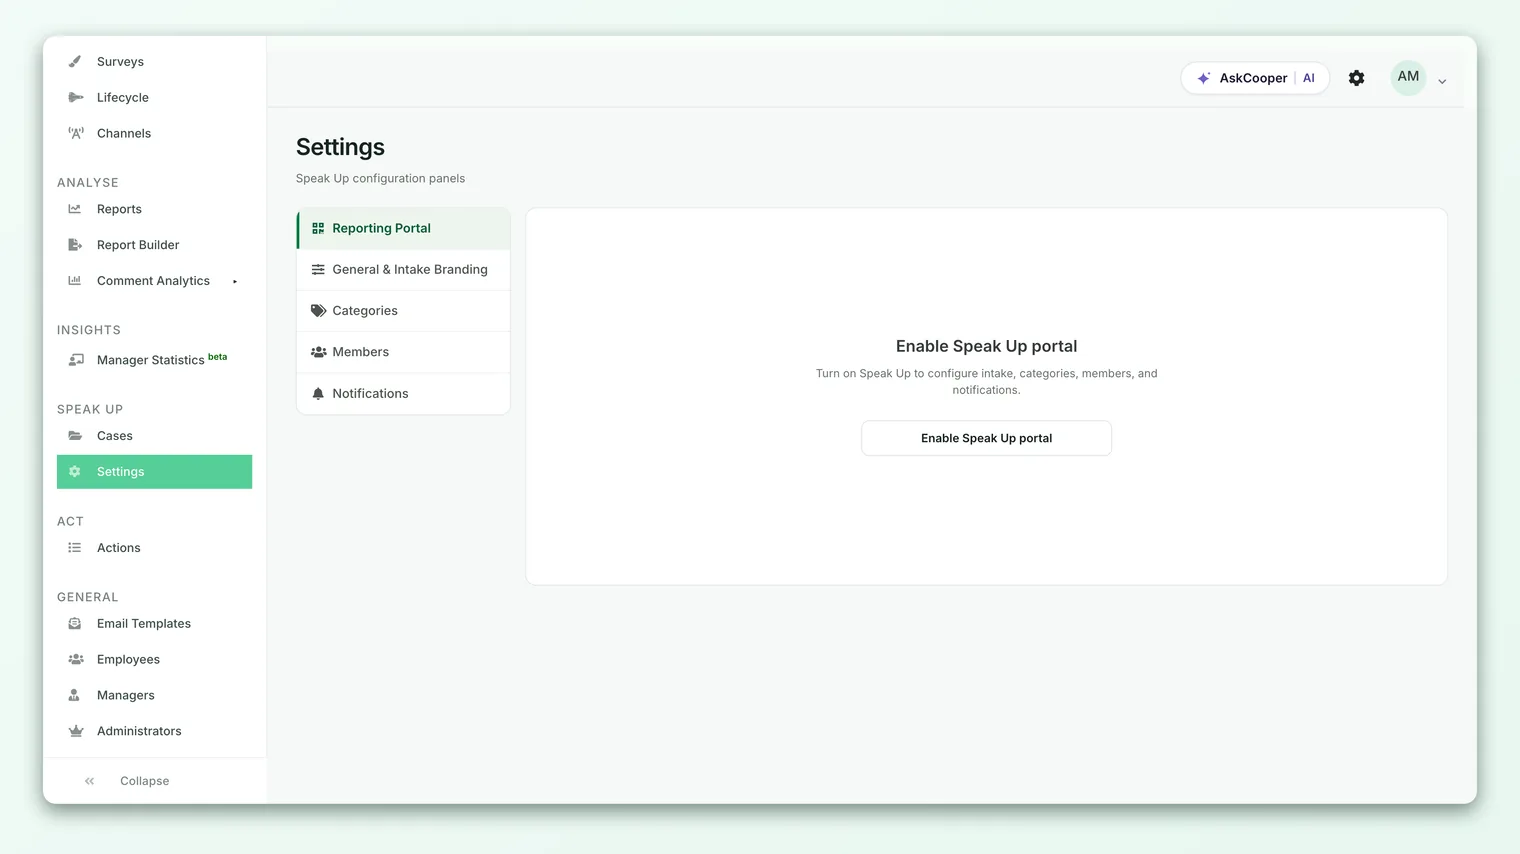
What you see next depends on the state of your account:
- Fresh account, portal off. Every tab collapses into a single Enable Speak Up portal card. There's nothing to configure yet because the portal isn't live.
- Established account, portal off. If Speak Up members already exist, the tabs stay visible and the enable action appears on the QR Code & URL tab, so you can review your setup before going live again.
- Portal on. You see the full settings layout: five tabs down the side (QR Code & URL, General & Intake, Categories, Members, Notifications) and a Disable Portal button on the QR tab.
Enable the portal
To turn the portal on, click Enable Speak Up portal.
- 1Open Speak Up → Settings. If the portal is off, you'll land on the enable-portal card.
- 2Click "Enable Speak Up portal." This flips the in-app toggle and immediately makes the reporter experience live.
- 3Land on the QR Code & URL tab. CultureMonkey redirects you here with a confirmation: "Speak Up portal enabled. Configure your QR code and intake URL below." This is your cue to finish setup before you publicize the link.
Enabling the portal also seeds a starter set of case categories the first time, so reporters have sensible options from the moment the portal goes live. You can rename, reorder, or replace these at any time (more on that below).
It's fine to enable the portal before everything is perfect - nothing is public until you actually share the link or QR code. Enable it, work through the intake and category settings, add your compliance team as members, and only then hand out the reporter URL.
Configure the intake form and branding
Open the General & Intake tab. This is where you shape what reporters see and how much you ask of them. Each control below maps directly to a setting on the intake page.
| Setting | What it controls |
|---|---|
| Description | The trust message shown in the strip on the landing page. Use it to reassure reporters that only authorized case handlers can see reports. |
| Landing background | The visual background of the reporter landing page. Pick a preset or upload a custom image (JPG or PNG, recommended 1440 x 1050). |
| Supported languages | The languages reporters can switch between. English is always included; adding others shows a language switcher and auto-translates your categories. |
| Allow non-anonymous reporting | When on, reporters can choose to identify themselves. When off, every report is anonymous and the mode-selection step is skipped. |
| Verify reporter email with OTP | Available when identified reporting is on. Requires reporters who identify themselves to confirm their email with a one-time passcode before submitting. |
| File attachments | Lets reporters attach files (documents, photos, video) to their submission. |
| Show "Track report" option | Shows or hides the "Track report" action on the landing splash. Turn it off to lead with "Start new report" only. |
Save this tab with Save general settings. A few of these deserve a closer look.
Anonymous vs identified reporting
The single most consequential intake decision is whether to allow identified reporting. Anonymous-only reporting maximizes psychological safety and often surfaces more reports, but it can make follow-up harder because you can only reach the reporter through the report's secure inbox. Allowing identified reporting (with optional OTP email verification) gives you a way to correspond directly when the reporter is comfortable being known. Many teams allow both and let the reporter choose per report.
Multilingual intake
If your workforce spans regions, add the relevant supported languages. English stays as the default and cannot be removed. When you add a language, CultureMonkey machine-translates your category names, descriptions, and follow-up questions into it, and reporters get a language switcher on the landing page. You can review and refine each translation from the language dropdown after it finishes. The trust-copy Description can be auto-translated the same way, provided text translation is enabled on your account.
Set up categories and their intake questions
Categories do double duty: they route a report to the right handlers and they define the follow-up questions a reporter answers after choosing a category. Open the Categories tab.
Each category carries a name, an optional description, a risk level (low, medium, high, or critical), and a list of intake questions. The default categories that were seeded when you enabled the portal - Workplace Harassment, Safety Violation, Discrimination, Fraud / Misappropriation, and others - already include thoughtful, category-specific questions, so you have a working intake form immediately.
- 1Review the seeded categories. Open each one and read its questions. Keep the list compact; a shorter, clearer set of categories is easier for a stressed reporter to navigate.
- 2Edit or add questions. Under a category, add questions that appear after a reporter selects it. Mark a question Mandatory to require an answer before submission.
- 3Set the risk level. Risk level helps your team prioritize and can drive routing and reporting. Match it to how serious a report in that category typically is.
- 4Add or remove categories. Use + New category for anything specific to your organization, and delete categories you won't use.
Because categories are central to routing, assignment, and analytics, they have their own detailed guide. See Manage Speak Up case categories for how questions, risk levels, and category scope interact with case handling.
Add your compliance team as members
A portal with no one watching it is worse than no portal at all, so add the people who will receive and handle reports. Open the Members tab and use + Add member.
Speak Up members added here can access only the Speak Up portal (Cases, Analytics, and Settings). They cannot sign in to other CultureMonkey admin areas unless they already have an admin account. For each member you set:
- Role - Admin, Member, or Viewer. The role determines what they can see and do.
- Category scope - all categories, or a specific subset. Scope keeps sensitive categories visible only to the right handlers.
- Auto-assignment - whether this member is included in round-robin auto-assignment of new reports, when auto-assignment is enabled.
Roles, scope, and how access maps to what each person can see are covered in depth in Speak Up roles and access.
Set notifications and SLA targets
Two more pieces make the portal feel responsive rather than a black hole.
On the Notifications tab, decide when the system emails reporters (new message from the team, status change, case closed) and when it emails your handlers (new case submitted, new message from a reporter, case assigned). Turning on reporter notifications is what lets someone who reported anonymously know their concern is being worked on, via the report's hidden inbox.
Separately, Speak Up tracks acknowledgment and feedback service-level targets - how quickly you promise to confirm a report was received, and how long until you share an outcome. These commitments appear to reporters and drive the SLA indicators on your cases. Set them intentionally rather than leaving the defaults. See Set acknowledgment and feedback SLA targets.
Publish the reporter link and QR code
Once intake, categories, members, and notifications are set, you're ready to let people in. Open the QR Code & URL tab.
Here you'll find your Intake URL and a printable QR poster preview. The intake URL contains a unique, hard-to-guess slug, so it isn't publicly discoverable until you share it.
- 1Copy the Intake URL. Use the copy button next to the field. This is the link you'll put on your intranet, in policy documents, or in onboarding materials.
- 2Download the QR poster. Use the download icon to grab the poster SVG. It includes your logo, the intake URL, and a "Scan to report an incident" heading, ready to print for break rooms, notice boards, and other physical spaces.
- 3Distribute both. Share the link digitally and post the QR poster physically so employees can reach the portal however is easiest for them.
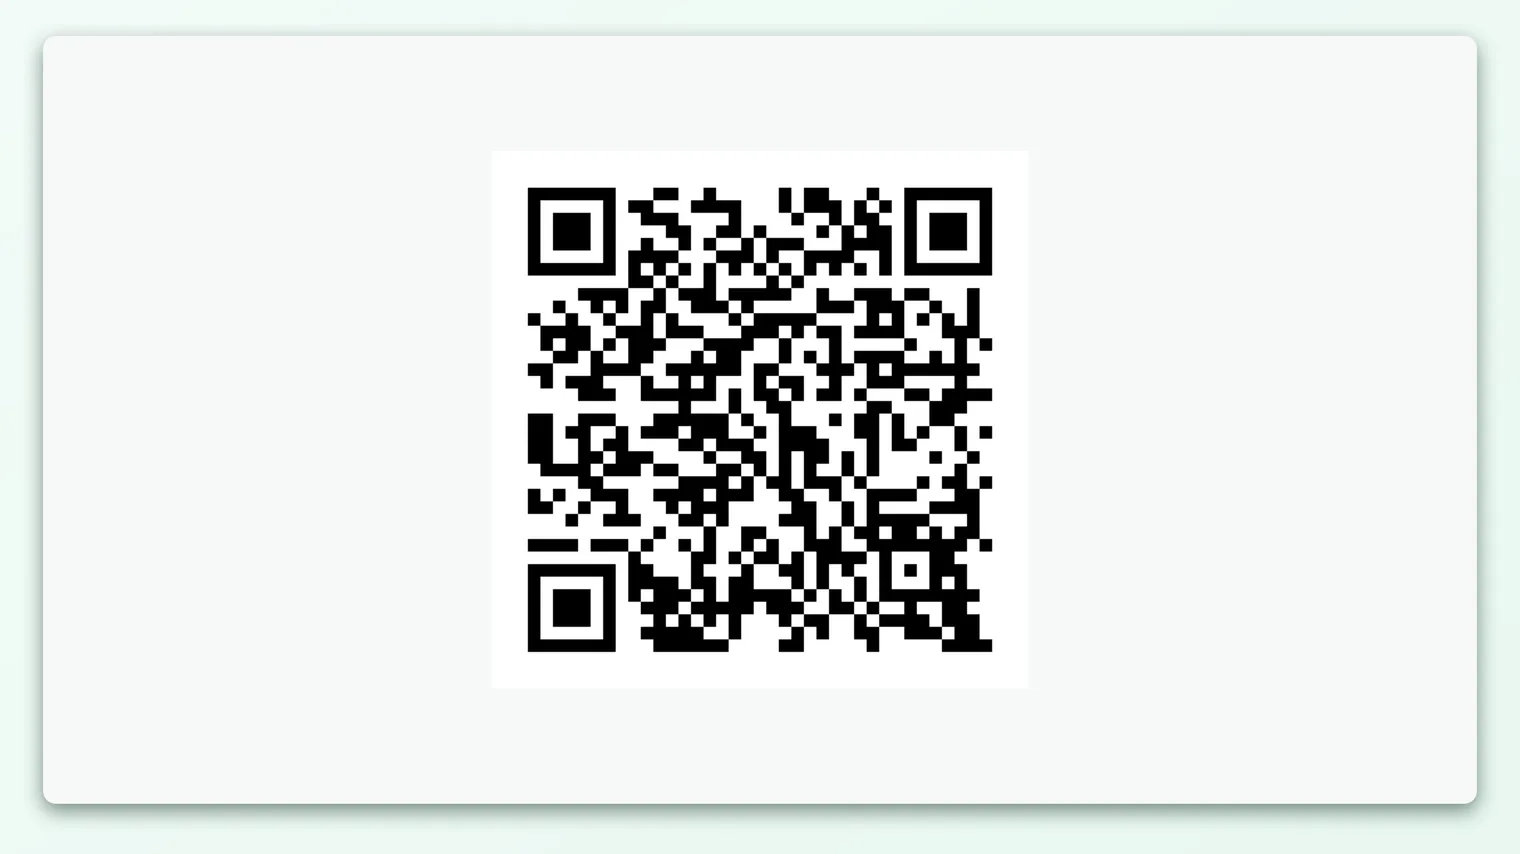
The Regenerate QR button creates a brand-new intake URL and QR code. This is useful if a link leaks or you want to retire old posters, but any previously printed QR codes and shared links will stop working immediately. Only regenerate when you're ready to replace what's already out there.
Turning the portal off again
If you need to pause reporting - during a migration, a policy review, or an internal change - use Disable Portal on the QR tab. Disabling the portal returns the public reporter URL to a 404 so no new reports can be submitted. Your existing cases and your team's admin access stay fully available; nothing is deleted. Re-enabling the portal brings the same intake URL back to life.
Disabling the in-app portal is different from having the whole module switched off. If the module itself is turned off for your account, the entire Speak Up area disappears from navigation, which is a provisioning change rather than a setting you toggle day to day.
Frequently asked questions
I don't see Speak Up in my navigation. How do I get it?
The Speak Up module has to be enabled on your account before the area appears at all. That's a provisioning step handled by CultureMonkey, so contact your Customer Success representative or get help. Once the module is on, a Speak Up Admin can enable the portal in-app.
What's the difference between disabling the portal and turning off the module?
Disabling the portal is a self-serve toggle: the reporter URL goes to a 404, but your cases and settings remain and you can re-enable anytime. Turning off the module removes Speak Up from your account entirely and is handled by CultureMonkey. For everyday pauses, use the in-app Disable Portal button.
Can employees report anonymously?
Yes. Anonymous reporting is always available. If you also turn on Allow non-anonymous reporting, reporters can choose to identify themselves; with that off, every report is anonymous and the mode-selection step is skipped.
Do I need to configure everything before enabling the portal?
No. Enabling the portal doesn't publish anything on its own - nothing is public until you share the intake URL or QR code. A good order is: enable, configure intake and categories, add members, then publish the link.
What happens to reporters if I regenerate the QR code?
They'll get a new intake URL, and the old URL plus any previously printed QR posters will stop working. Reporters who already have an open case keep their report number and password to follow up; only the intake entry point changes.
Who can change these settings?
Only a Speak Up Admin. Members and Viewers can work cases but can't enable the portal or edit intake, categories, or members. See Speak Up roles and access.
Where to go next
- The whole picture: How CultureMonkey handles multiple languages
- Shape routing and questions: Manage Speak Up case categories
- Set your response commitments: Set acknowledgment and feedback SLA targets
- Decide who handles reports: Speak Up roles and access
- Planning the rollout: How to launch an anonymous reporting channel
Your feedback helps us improve the Help Center.